


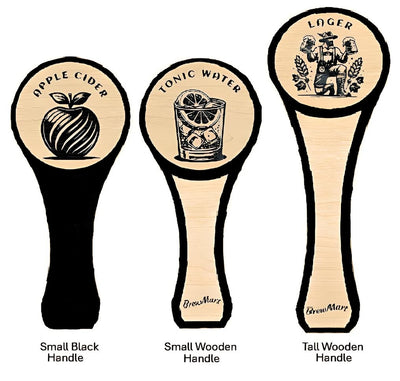
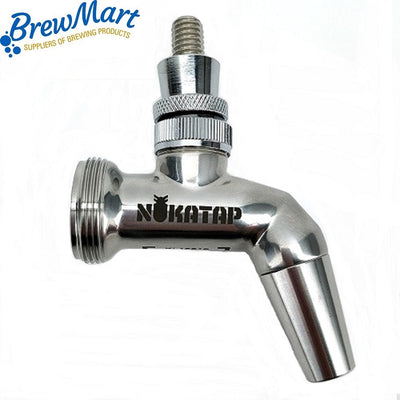
Tap Decals


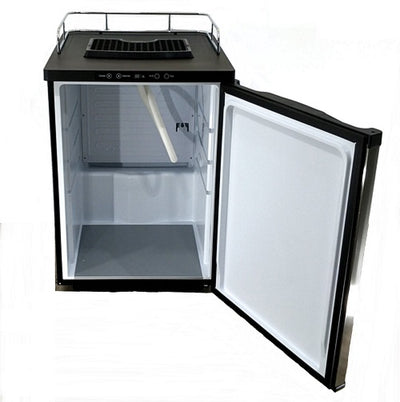
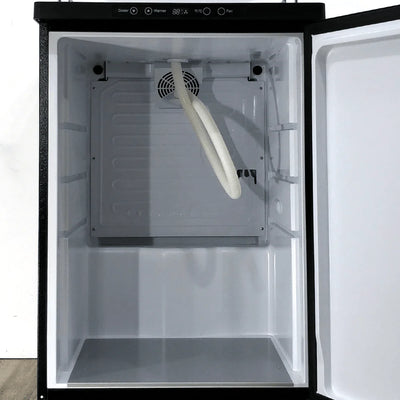
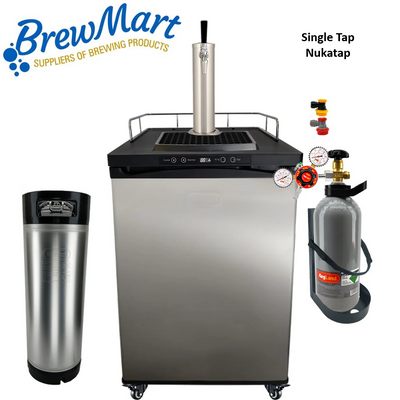
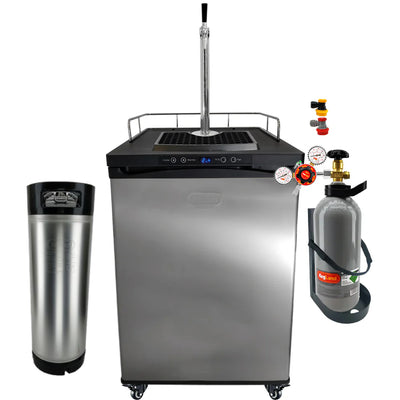
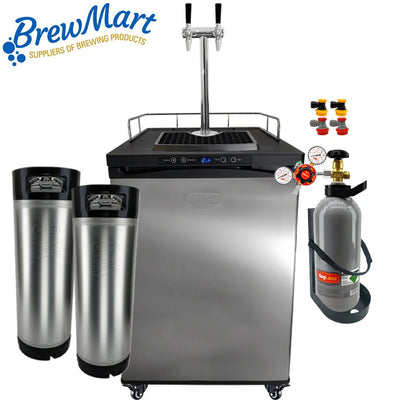
Kegerators


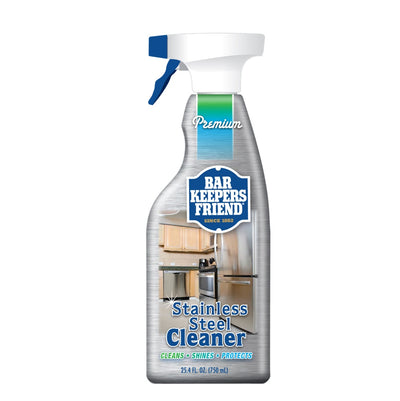
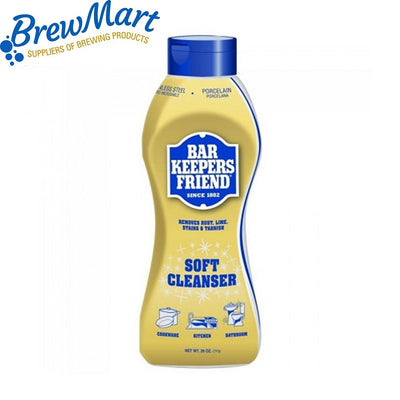
Bar Keepers Friend


Frequently Asked Questions
Welcome to the World of Brewing
This guide covers all the essentials for brewing premium beer at home, including required equipment, the brew day process, and expert tips.
Before starting, carefully inventory your ingredients and recipe kit. We are happy to replace any kit parts beforehand, but we cannot swap items once brewing has commenced.
Equipment
Homebrewing setups range from simple to highly advanced. Below is the core equipment you need for basic extract brewing. Because all equipment is fully reusable, it is a future-proof investment if you ever decide to step up to all-grain brewing.
Starter Kits
Buying a Starter Kit is the most cost-effective way to get everything you need for brewing beer, cider, or ginger beer.
Clean & Sanitise.
To prevent contamination, you must thoroughly clean and sanitise all equipment being used before they touch the brew.
Effective sanitation relies on the two-step process of cleaning (removing debris) and sanitising(killing organisms)
Assemble the fermenter. Attach the temperature strip and tap to the base. Fit the grommet to the lid.
Cleaning Products.
Sanitising / Sterilising Products.
Brewing Process.
Step 1
Soak your can of malt extract in hot water for 10 minutes to soften and loosen the thick syrup, then pour the contents into your fermenter. Add the additional sugars along with 2 litres of hot water, then stir until completely dissolved.
Adding grain (partial mash)
If grain is included in the recipe, either mill it or crack it with a rolling pin. Put the grain in a muslin bag and steep in hot water (approx. 65-75°C) for 20 minutes.
Pour the liquid only (not including the grain) into the fermenter.
Hops
Option 1 Finishing Hops
If finishing hops are included, follow the instructions on the pouch.
Option 2 Hop Pellets
Boil 2 litres of water. Add hop pellets, boil for 1 minute, and then cut the heat. Steep for 15 minutes, then strain the hop-infused liquid into the fermenter.
Option 3 Dry Hopping
Add your dry hops directly to the fermenter on day 5 of fermentation, but ensure they are in contact with the beer for a maximum of 3 to 4 days.
Additional Ingredients
If any additional ingredients, boil them for 1 minute, then remove from the heat. Steep for 15 minutes, strain the liquid, and add to the fermenter on Day 2.
Step 2
Beer Volume and Fermentation
Top up the fermenter to 23 litres with water. Ensure the water temperature is within the range of the temperature written on the yeast packet.
Take a sample from the fermenter to measure the Original Gravity (O.G.) with your Hydrometer.
Record this number to calculate the final ABV (Alcohol By Volume).
Step 3
Pitching of Yeast
Follow the instructions on the yeast sachet.
Ideal temperature ranges for your fermentation:
Lager Yeast: Pitch and ferment between 12-15C°
Ale Yeast: Pitch and ferment between 18-24C°
Ensure the lid is properly sealed, then fill the airlock with water and attach it. Ferment until hydrometer readings show that the specific gravity is stable across 3 consecutive days.
Final Gravity is approx. 1.005 for a dry beer, 1.010 for most beers and 1.015 for Stouts and Dark Ales.
Alcohol by Volume
To calculate the alcohol content the following equation can be used.
((Original Gravity) – (Final Gravity)) x 131 = ABV%
The brew has fermented and is now ready to Keg or Bottle.
Hints & Tips
There are many helpful apps and websites that can help you out. A few of the most popular ones are:
PREPARE BREWING WATER
▪ Measure Water for Mash and Sparge
▪ Add Campden tablet
PREPARE BREWING EQUIPMENT
▪ Ensure grain basket or bag is fitted properly.
▪ Ensure you have scales to weigh out your hops.
▪ Heat mash water to 2°C above mash temperature.
"MASH IN"
▪ Add the milled grain to your mash water.
▪ Stir in well to break up any dough balls.
▪ Wait for 5 minutes for mash to "settle".
▪ Set mash temperature.
MASH
▪ Set mash timer and begin recirculating.
▪ Follow temperature steps on recipe.
▪ Heat Sparge Water to 75°C.
Most mash steps will be in the range of 60-69°C; adjust your mash temperature to the lower or higher end of this range for a drier or sweeter beer.
"MASH OUT"
▪ Raise mash temp to 75°C.
▪ Maintain this temp for 10 minutes.
SPARGE
Raise malt pipe, seat carefully on the retaining ring (Brew in a bag: Raise grain bag and suspend over wort).
▪ Add sparge water evenly over the top of the grain bed.
▪ Pour at a constant rate, allowing 5mm of
water above grain bed if possible.
▪ Bring wort to a boil and pour yourself a beer.
BOIL
▪ Begin boil timer once boil is reached
▪ Pay attention; in case of a potential boil
over, stir vigorously or use Fermcap
▪ Weigh hop additions and add at times on
recipe
▪ Add Whirlfloc Tablet, & yeast nutrient
with 10 minutes remaining.
Boil additions are usually in reference to time remaining. i.e. a 10min addition is added with 10 minutes remaining on the boil timer.
HOPSTAND
▪ Chill (or wait) to reach 80°C.
▪ Add the Hopstand addition and stir in a
circular motion to create a whirlpool.
Cover and leave for the duration of the hopstand.
Many of our recipes refer to a Hopstand addition.
Hopstands are hops added AFTER the boil has finished, for a set amount of time (usually 20 minutes). The aim of a Hopstand is to unlock maximum aroma from the hops, without too much bitterness.
CHILL and TRANSFER WORT
▪ Chill and transfer wort to a sanitised
fermenter.
▪ NO CHILL OPTION: transfer hot wort to a
sanitised HDPE "cube", squeeze out any
air and seal tight.
How you go about chilling your wort will be a compromise of cost, quality and convenience. Heat exchangers are the
most efficient wort chillers, but they can use a lot of water and take time to clean. Whatever you choose, be sure to sanitise your equipment thoroughly.
FERMENT
▪ Cool wort to ideal fermentation
temperature
* Temperature control is strongly
recommended *
▪ Pitch yeast (rehydrate or sprinkle on top)
▪ Add Dry Hop additions as specified on
▪ Package when the specific gravity is stable.